Saturday, March 31, 2012

Homebrew Month, Week Five


Hello followers! Hope you're loving the snow!?!
So, here we are... The final blog for Homebrew Month. I really hope you have all enjoyed it, I know I certainly have! Cooking with beer has been quite interesting in itself. It's something I hadn't had much experience doing, but it's been a pleasure.
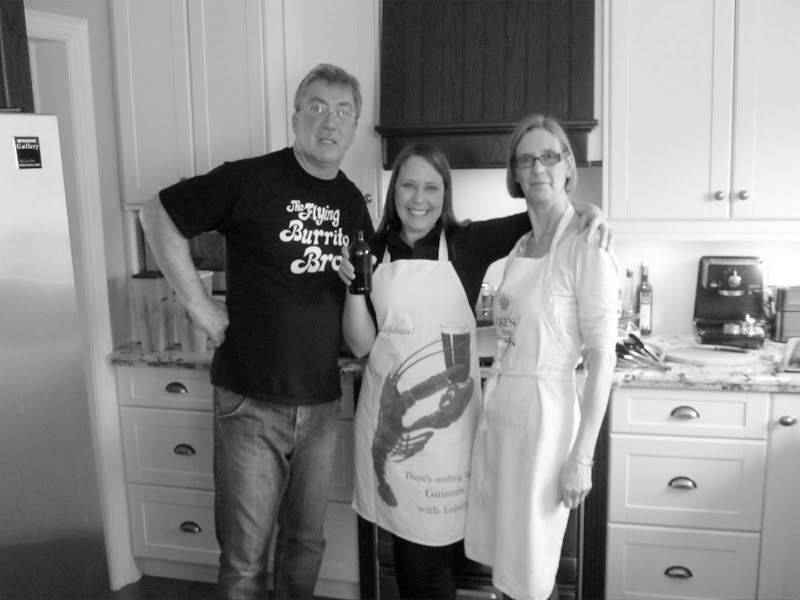
Last weekend the family got together for a 'Homebrew Feast' at my Aunt and Uncle's house in which we all ate the beer food that I have been featuring this month on my blog. Yum! Talk about a great excuse to get together! Besides my recipes, my Uncle Jeff made a beer chicken and my Mum made beer and Cheddar bread with onions and a beer cheesecake! Wow, now that cheesecake was decadent! These delicious beer laden dishes made our feast even more spectacular and I'd like to share the links to the recipes so you can enjoy them yourself! Oh yes, I have also attached my Mum's notes of how she changed the original recipes.

Beer Can Chicken
http://www.canadianliving.com/food/beer_can_chicken_with_italian_spices.php


Beer Bread with old Cheddar and Onions
Notes:
I used 1 cup of old cheddar per loaf.
I only kneaded the dough 5 mins each time.
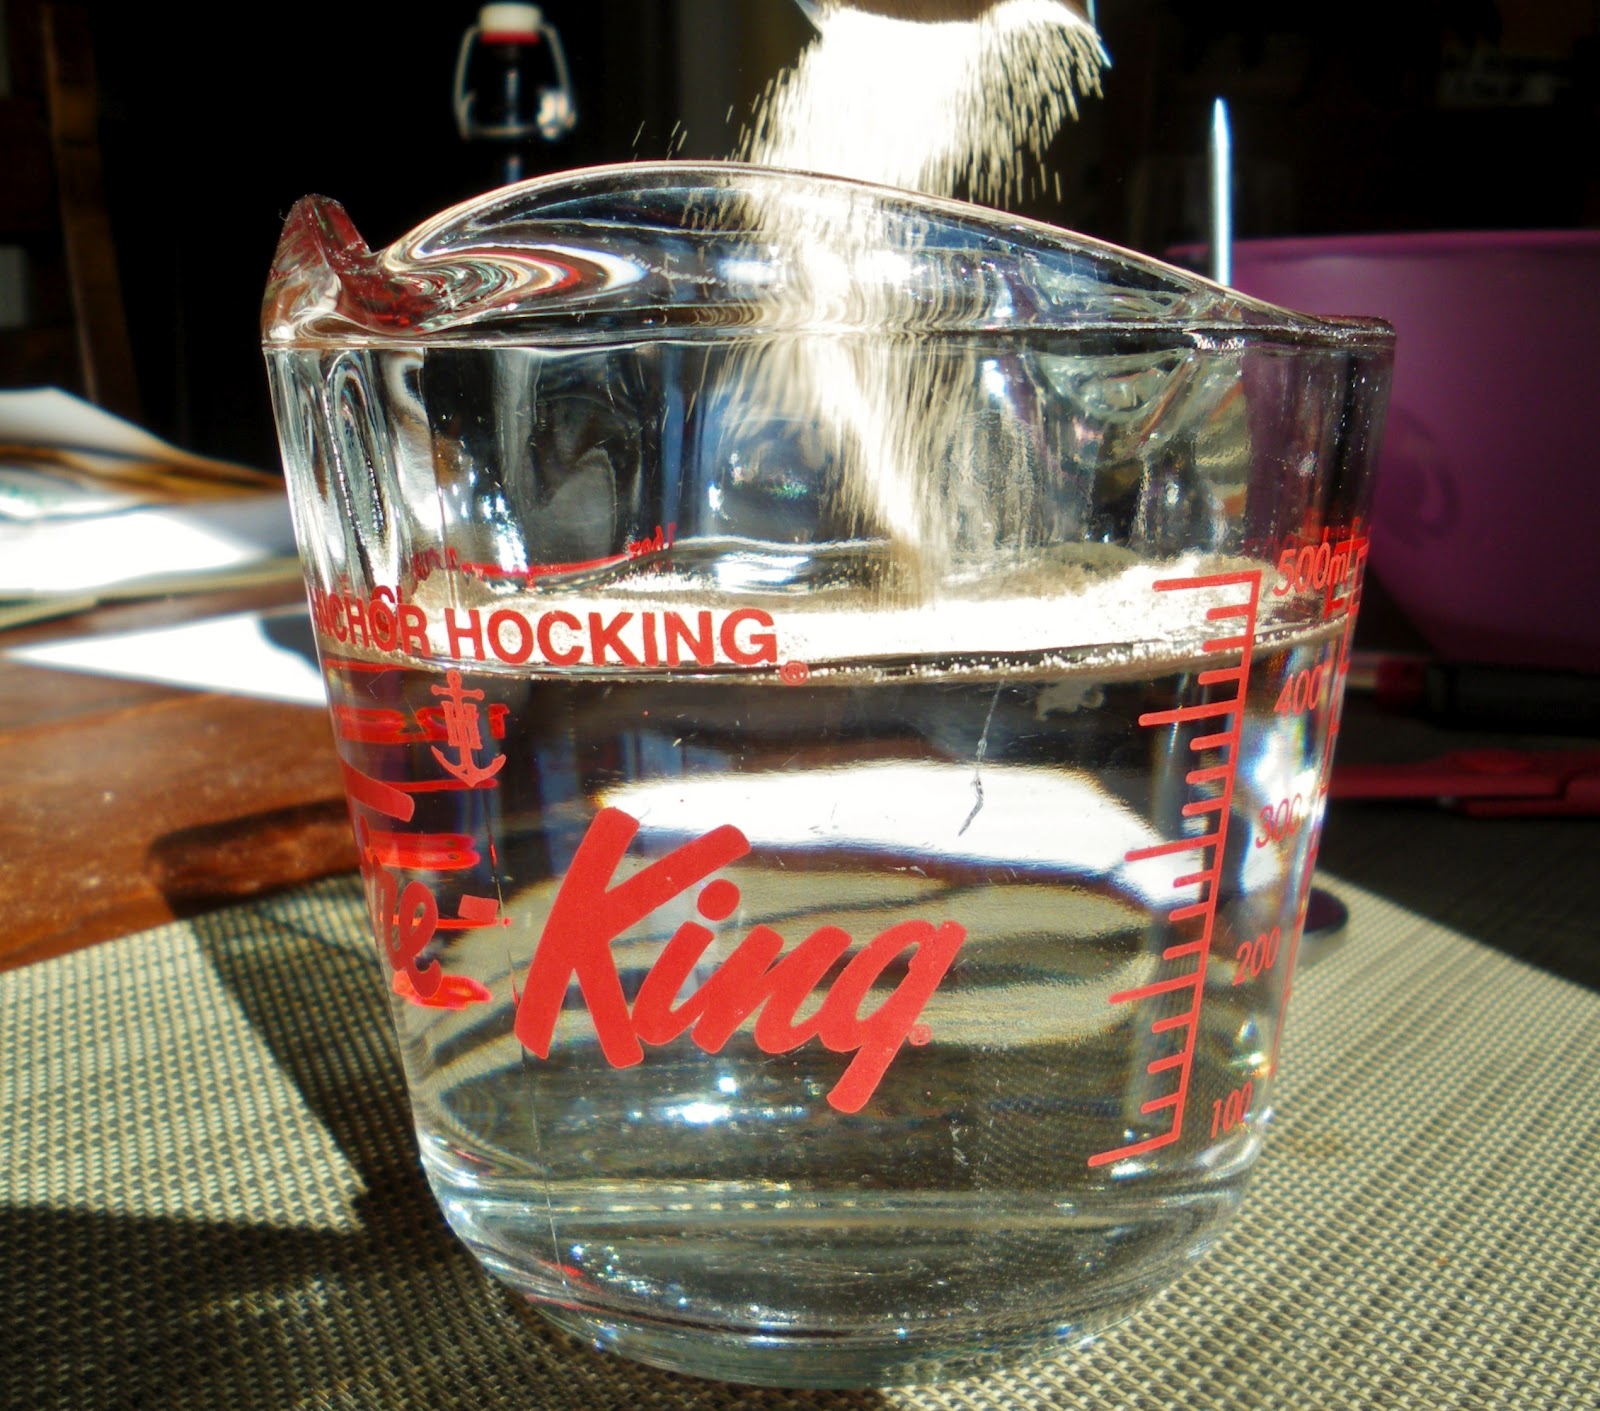
I used a rolling pin to roll dough into rectangles  (mine were 17 in by 8 in).
I did not make the cheese swirl rolls. I also slashed the tops of the loaves prior to baking with a sharp knife. I did cover my loaves with a light damp tea towel for the last rising. Plastic wrap sticks too much for the soft dough although I covered the bowls in the fridge rising with plastic wrap. Also note that you can leave the loaves to rise for an hour or two in your warm kitchen and they just get plumper.


Dark Beer Cheesecake
Notes:
 3 x  250 gram packages or 750 grams full fat cream cheese= 1 1/2 lbs
 4  x  500 ml containers of full fat sour cream = 2 lbs
For the cookies I used all butter shortbread (nut free) and made them into crumbs in food processor, mixed with 1/4 cup of melted butter.
I topped the cake with a fresh strawberry puree and halved fresh strawberries.


Okay followers, I won't take up anymore of your time. So, thank you so much for allowing me to make March quite the successful 'Homebrew Month'! I'm off to the Spring Cottage Life Show today to do cooking demonstrations with cookbook author Jane Rodmell. It's always a fun time! And make sure you all come back next week when I will kick off April with a delightful Springtime recipe! Bye for now!


Sunday, March 25, 2012

Homebrew Month, Week Four


Hello followers! Our new season is here and I'd like to wish you all a happy Springtime!
Well, last week we looked at the step by step homebrewing method. Pretty simple and straightforward, wouldn't you agree? Today we will finish the process...
One week after the initial brew, the beer is moved from it's fermentation bucket into a large glass vessel called a 'carboy'. In the carboy, the secondary fermentation takes place and the yeast and hops settle to the bottom, while the carbonation dissipates. Dextrose is diluted in water and added to the brew, it will react with the remaining yeast to create carbonation. The brew is then syphoned out the of carboy (avoiding the sediment in the bottom) and into the bottling pail, complete with spigot and hose. Warning: Make sure the spigot is closed! Ha! Once the beer is in the bottling pail, it's ready to go! Fill the sanitized bottles with homebrew, tightly screw the cap or use a metal capper, give it a shake and let it sit for 2 weeks. A cooler climate will lend to a slower carbonation, whereas a warmer climate will carbonate your homebrew a bit quicker. You'll be happy to hear that the carbonation of our Nut Brown Ale took 2 weeks. Here are some pics!


This batch of homebrew was absolutely delicious! Dark in colour with a thick foam head, smooth going down with a rich and full nutty flavour and a bitter end. My Uncle Jeff said that it turned out perfect and I think everyone that sampled it would concur! One month from start to finish with 23 litres of homebrew to show for it. Now that's pretty darn amazing! For today's recipe I decided to use locally grown veggies and braise them in beer. Yum yum!


Simple and Tasty Recipe:

Beer Braised Cabbage and Beets
(serves 6 to 8)

2 tbsp butter
1 onion, thinly sliced
2 garlic cloves, thinly sliced or chopped
1 tsp thyme
1 small or 1/2 large red cabbage, thinly sliced
1 large beet, peeled and grated
1 tbsp grainy Dijon mustard
2 tbsp cider vinegar
2 tsp brown sugar
1/2 cup beer (preferably dark or homemade!)
1/2 cup vegetable stock or water
sea salt
fresh ground pepper

In a large skillet, on medium heat, melt the butter and add in the onions with a pinch of salt and pepper. Cook until soft, about 4 to 5 mins. Stir in the garlic and thyme and cook for 1 to 2 mins more. Add in the rest of ingredients and mix well, season with another pinch of salt and pepper. Reduce the heat to medium low, cover with a large lid and simmer for about 30 mins until the cabbage and beets are fully cooked, stirring occasionally. Adjust the seasoning to taste and serve immediately. Enjoy!
(if you prefer your cabbage a bit sweeter in taste, add another tsp of sugar. If you prefer it more a bit more sour, add another tbsp of vinegar.)
Alrighty followers, another week of Homebrew Month done and one more to go! And, as a matter of fact, today there is going to be a homebrew celebration in good ol' Dundas, Onatrio at my Aunt Deb and Uncle Jeff's house! They have invited us over for dinner and we are all making each of the homebrew recipes from my blog to contribute. Oh man, I just hope everyone's dishes turn out! Yikes! So, my followers have a great Sunday and wouldn't you agree that it's a perfect day to make some homebrew?! Till next week!


Sunday, March 18, 2012

Homebrew Month, Week Three


Hello my fun loving followers, I hope you all had a great St. Patrick's Day!
So, here we are, the third week of Homebrew Month! I think we're ready to get down to the nitty gritty and start making our brew! There is a recipe of course and just like in baking, exact measurements, temperature and timing are all extremely important. I was surprised to find how simple the beermaking set up was, as were the pieces of equipment and the actual brewing process. Uncle Jeff used to make his beer indoors on the stove, but with over flows happening quite easily (we had one ourselves!) he decided to move the homebrewing wisely outside!
Here is brief description of what we did! First, the water is heated, the grains are added and steeped for an hour. The grains are removed, brown sugar is stirred in and the 'wort' is brought back up to the boil (wort is the name of the unfermented beer). Hops are added in and boiled for an hour. The wort is then cooled down by putting the 'wort chiller' (copper piping) into the pot and cold water is run through the piping until the temperature has dropped. Irish Moss is added in to clarify the brew. Another batch of flavouring hops are added in. The wort is then put through a sieve and transferred to a bucket. Finally the yeast is stirred in, a lid with an aeration tube is added and the fermentation begins! Let's take a closer look!


Cheers, Uncle Jeff! From start to finish, our batch of homebrew took about 4 hours and produced 23 litres of Nut Brown Ale! You might have noticed the thermometer-esque glass vile in the foaming wort. This is a 'hydrometer'. It measures the density of the water and gives you the alcohol level of your brew. I am happy to say that our ale was about 6% to 6.5% alcohol. Not bad! After our brewing was done for the day, Auntie Deb made us a great lunch, which we washed down with some local brew. Unfortunately, our Nut Brown Ale took a month to brew, so we would have to wait to try it... This of course is only the first stage to making beer, I will continue the process when Homebrew Month continues! Here's this week's recipe with beer!


Simple and Tasty Recipe:

Beef, Beer and Mushroom Stew
(serves 4)

3 pcs bacon, cut into 1 cm strips
500 gr stewing beef
1 tbsp olive oil
1 onion, 2 stalks celery, chopped
2 cloves garlic, chopped
12 large mushrooms, quartered (cremini or button)
1 bay leaf
2 springs thyme, plus 1/2 tsp thyme, chopped
2 tbsp flour
1 1/4 cup or 341ml bottle dark beer
3 cups beef stock (preferably homemade), low sodium store bought
1 large potato, scrubbed or peeled, cut into approx 2 cm cubes
*1 tbsp parsley, chopped (optional)

In a medium sized pot with a lid (or a Dutch oven), heat on medium and fry the bacon until browned. Remove the pieces with a slotted spoon to a paper towel lined plate and set aside. Leave the rendered fat in the pot and turn up the heat to medium high. Dry the beef pieces with paper towels and when the pot is hot, arrange about a dozen or so pieces of beef on the bottom, making sure they are not crowded. Brown each piece on all sides, lightly sprinkle a little salt and pepper and remove to a bowl. Repeat until all of the beef is browned, adding a little oil if needed.
Reduce heat to medium, add the olive oil to the pot and add in the onion, celery, garlic, mushrooms, bay leaf and thyme. Fry for about 4 to 5 minutes until the onions are soft, making sure to scrape up the brown bits with a wooden spoon so they don't burn. Sprinkle over the flour and cook for 1 to 2 mins more.
Pour in the beer and stock, give it a good stir. Bring to the boil, reduce the heat to low and partially cover with the lid. Allow to simmer, stirring occasionally, until the beef is just tender, about 1 1/4 hours. Add in the potatoes and reserves bacon and continue to cook until the beef and potatoes are fully cooked, 15 to 20 mins more. Adjust seasoning, stir in the chopped thyme and parsley (if using) and serve. Enjoy!
Finally, last but not least, I need to share some great news! My cousin Adrian and his wife Laura had a beautiful baby boy named Elliot Benjamin Visheau on March 12. We are all so happy! So, congratulations to the new parents and to Uncle Jeff and Auntie Deb who are now first time Grandparents! Hurray!


Saturday, March 10, 2012

Homebrew Month, Week Two


Hello followers, ready for more brew talk?
I figured that this week's blog should cover the basic ingredients for making homebrew. The recipe for my Uncle's Nut Brown Ale was extremely simple and I was surprised by the lack of ingredients. Water, grain, hops and yeast, along with brown sugar and Irish moss. That's it! I must say that I now have a much better understanding of how our ancient ancestors must have stumbled upon beer making. Let's take a closer look, shall we?

Water:
Water is the key ingredient to any brew and of course, the most important! And, believe it or not, the water you have lends to which type of beer you will make. Hard water is good for stronger, more robust beers like stout, while soft water is good for milder, more mellow tasting beers such as pale lagers. Isn't that something?! For our brew, we used bottled, natural spring water.

In beer making, the starches from the grains are released from soaking in hot water to make the 'wort.' These starches are then converted to sugars (saccharified) and then converted into alcohol and carbon dioxide (fermented). In our Nut Brown Ale, we used a combination of Victory malt grain, pale barley 2 row grain, roasted barley and Cara Amber grain (Crystal 60). Because of the varied roasting times and temperatures, each grain adds their own flavour and colour to the brew.

Photograph: Barlow Brewing
Hops:
You might remember that I went to the Ontario Fruit and Vegetable Conference last month with my Dad and Uncle Jeff. We were there for a morning's lecture on growing hops in Ontario. A part of the cannabis family, hops are the the main flavouring agent in beer. They add a bitterness which counteracts the sweetness of the malted grains. Different varieties of hops have different aromas, flavours and bitterness levels. The hops we used in our homebrew were Cascade, Nugget and Williamette. Hops can be used fresh, dried or in pellet form. We used pellets. And, just to let you know, my Dad and Uncle will be growing their own hops this year! They have purchased these three hops varieties and don't worry, I will keep you updated on the progress of our mini 'hop yard!'

Photograph: CAMRA Victoria


Yeast:
Yeast causes the fermentation of the brew. It is a microorganism that naturally feeds off of, and lives on, grains and other plants and is classified as a fungi. The yeast metabolizes the sugars released from the grain to produce alcohol and carbon dioxide. It also adds flavour.

Adjuncts:
Brown Sugar:
Adding extra sugar to your brew will make it stronger, alcohol wise and flavour wise. Perfect for our Nut Brown Ale!

Irish Moss:
Irish moss is a 'fining agent' made from seaweed and it comes in pellet form. It clarifies the beer to leave you with a crisp, clear brew (although that was a bit hard to see with our ale being so dark!).

Photograph: Ava Chin, New York Times

And there you have it, followers! The ingredients that result in that beautiful beverage we call beer! Now for this week's recipe featuring our delicious homebrew...

Simple and Tasty Recipe:

'English' Onion Soup with Beer
(serves 4)

2 tbsp butter
4 large cooking onions, sliced
1 sprig of thyme
1 1/3 cup beer or a 341ml bottle (preferably dark beer, preferably homemade!)
1 litre beef stock or roasted vegetable stock (preferably homemade), or low sodium store bought
sea salt
freshly ground pepper
4 to 8 slices old bread (preferably baguette)
1 cup Old Cheddar cheese, grated
1/2 cup Stilton cheese, crumbled

In a heavy bottomed pot, melt the butter on medium low heat and throw in the onions with the thyme and a pinch of salt and pepper. Cover with a lid and allow the onions to simmer down for about 30 to 45 mins, stirring occasionally (make sure to scrape up any dark bits, you don't want the bottom of the pot to burn), until the onions are nicely caramelized. Pour in the beer and stock, replace the lid, turn down to low and allow the soup to simmer for another 30 to 45 mins. Turn on the broiler and toast the bread on both sides, adjust the seasoning of the soup. Ladle the soup into 4 ovenproof bowls, top with the bread and the cheeses, place on a tray and broil until the cheese is bubbly. Serve immediately with a pint on the side, cheers!

Well, instead of calling this onion soup 'French,' I thought I'd have a little fun and call it 'English' since we are using an English ale and English cheeses. Ha! Okay followers, I will be back again next week to continue along with Homebrew Month! Bye for now!