Thursday, March 28, 2013

Smoked Trout Paté with Lemon and Dill, Gluten Free

Happy Easter!

 
Hello followers! If you are in the Toronto area, make sure to head down to the St. Lawrence Market for all of your Easter dinner needs!
Easter has arrived early this year and has caught a lot of us off guard! We love celebrating Easter in my family and we start it off by making homemade perogies on Good Friday. Once a year all of the ladies in the family gather to make the delicious savoury dumplings, using my Great Grandmother's recipe. After a long (yet fun!) day of kneading, rolling and cutting out dough, stuffing each round with our potato and cheese filling, we boil and fry the perogies up in butter. Finally the men and children come over to join us for a festive Good Friday meal! After dinner, it's time for the lively Easter egg hunt followed by a dessert of chocolate, chocolate and more chocolate! Sunday and Monday we gather again to enjoy two very different Easter dinners. Sunday's feast showcases the traditional foods of my Grandmother's Ukrainian roots and Monday's features the good ol' English fare of my Mum's heritage. Both wonderful and both extremely delicious!
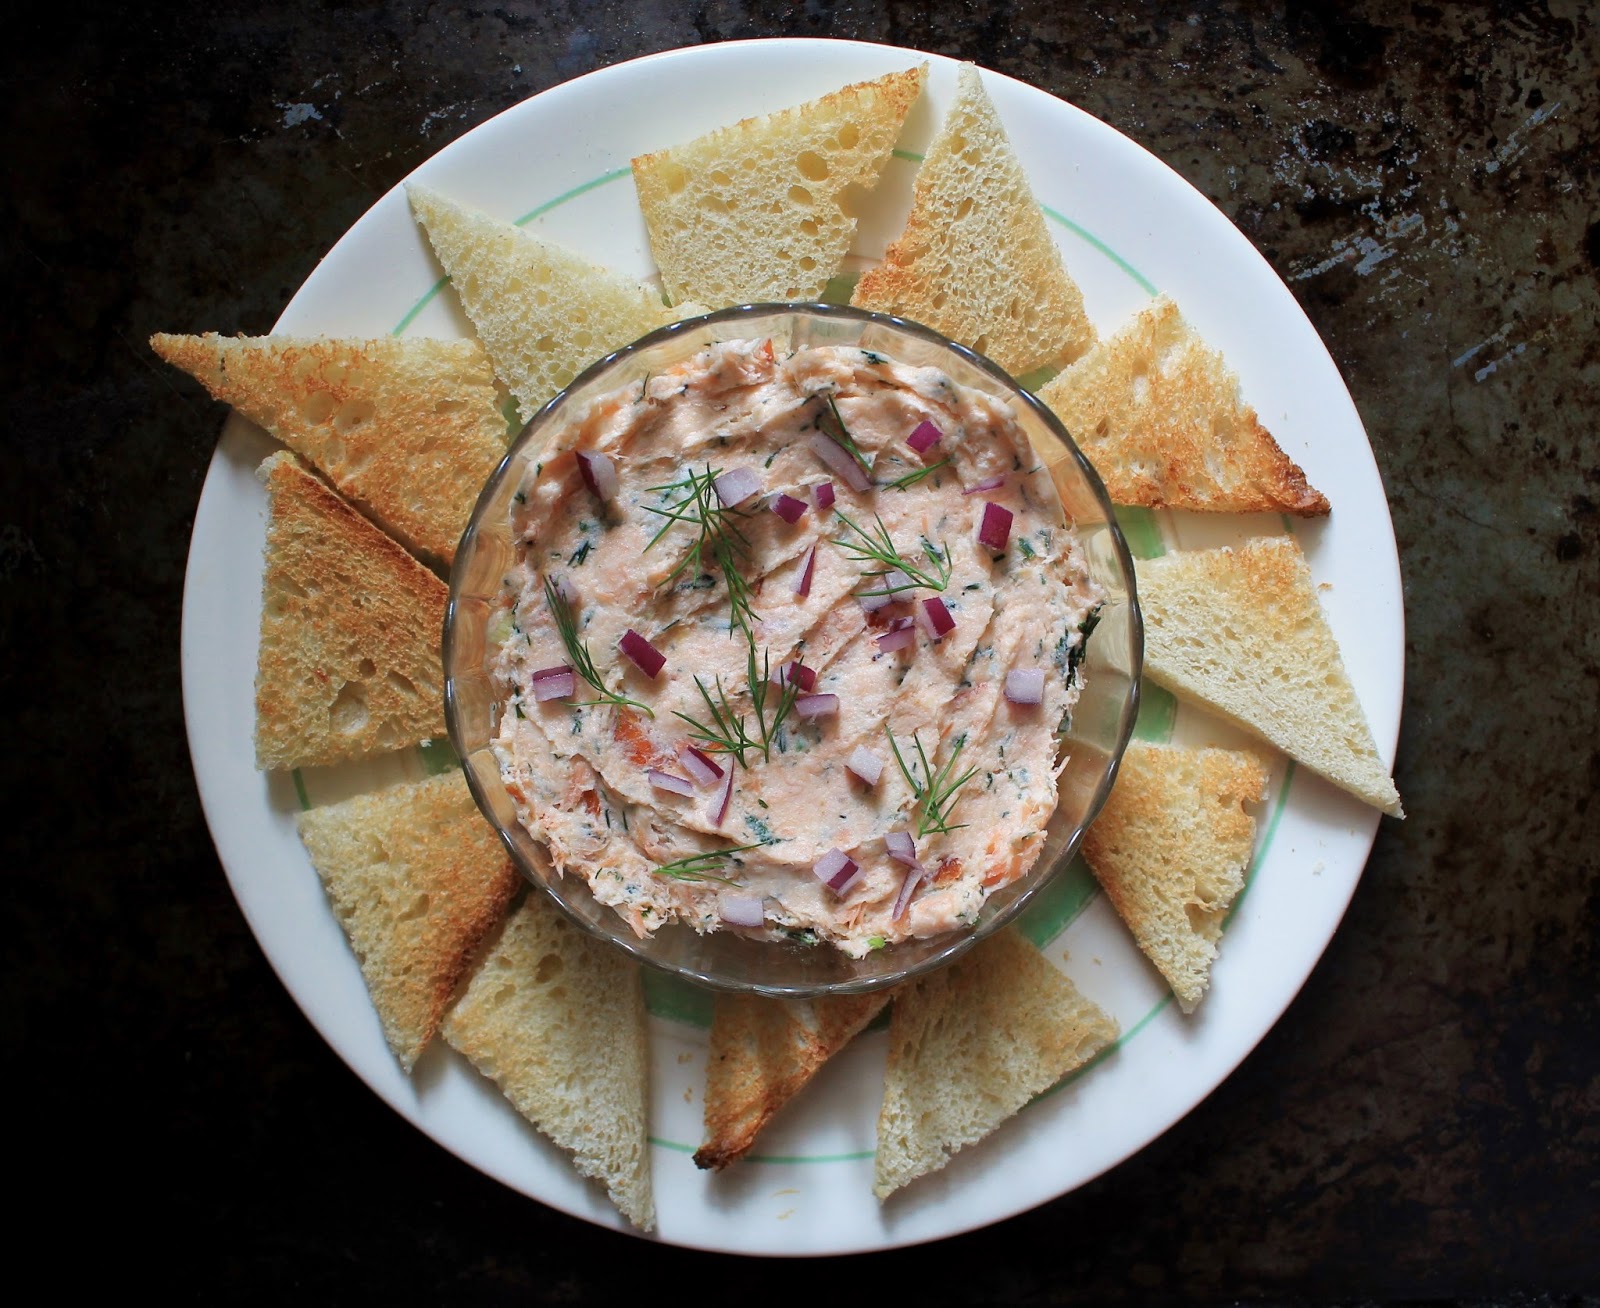
This year I have decided to stray a bit from tradition and make an offering of a smoked trout paté. So quick to put together and a lovely nibble to start any springtime meal, I just can't decide which Easter dinner I should bring it to! Ha!

 
Smoked Ontario Trout Paté with Lemon and Dill
(serves 6 to 8)
 
1/2 cup cream cheese, softened
3 tbsp butter, softened
1 tsp Dijon mustard
3 tbsp red onion, finely diced, plus a bit extra for garnish
1 tbsp parsley, finely chopped
1 tbsp dill, finely diced, plus extra sprigs for garnish
2 tsp lemon zest
Sea salt, to taste
Fresh ground pepper, to taste
 
Place all of the ingredients into a medium bowl and stir until well combined. Season with salt and pepper to taste. Transfer to a serving bowl and chill for at least one hour before serving. Garnish with a few dill sprigs and serve with pieces of toast (made from regular bread or gluten free bread), fresh sliced baguette, crackers, crostini or other gluten free alternatives such a plain rice crisps. Enjoy!
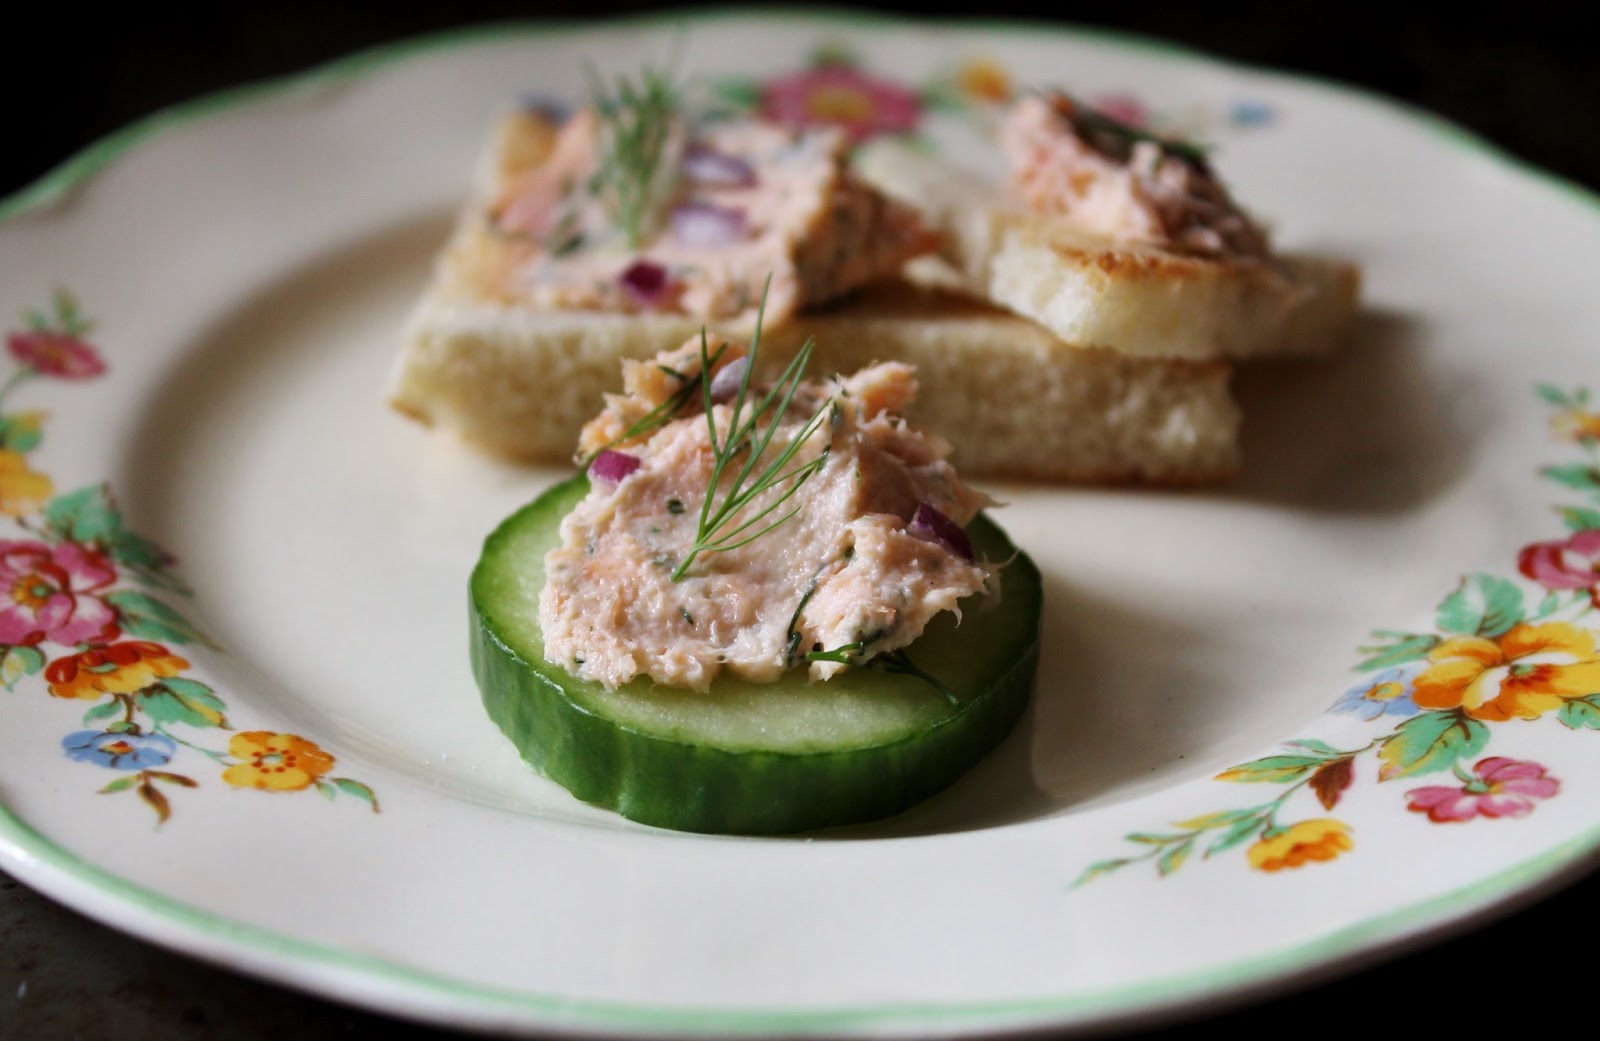
I recently brought this paté to my nephew's first birthday party and it was a hit, especially with the birthday boy himself! Another great way to serve this paté would be on slices of cucumber, just try to wait until they are in season and locally grown! Okay followers, I have got to run! With a busy Easter upon us, I have a lot of preparations to do! Have a wonderful Easter weekend with your loved ones and I will be back again next week!


Thursday, March 21, 2013

Springtime and Easter Cake Pops

"Let them eat cake... Pops!"

 
Hello followers, enjoying spring?
Remember when I said last week that I was out of my comfort zone with gluten free baking?! That was nothing compared to this! You see, my cousin Robyn's roommate Lauren recently made a request, et voila, cake pops! I have never attempted anything like it, but with the help of the friendly staff over at the Bulk Barn I got everything I needed to get underway. The only thing I didn't buy was a block of Styrofoam to insert the finished pops into, so after a bit of experimenting, I found that an upside down egg carton with little holes cut into each egg cup made a suitable cake pop stand. Looking back, the Styrofoam would have been easier, but unfortunately the stuff just isn't recycled around here. Also, I used vanilla cake, vanilla icing and white chocolate but you can use whatever flavours you want! Okay, there are quite a few steps to do, so let's get started!
 
 
Simple and Tasty Recipe:
 
Springtime Cake Pops
(makes about 48)
 
1 9x13 cake, any flavour (either homemade or 1 store bought package)
1 cup icing, any flavour and room temperature (either homemade or store bought)
450 gr chocolate, white or brown 
 
Other:
 
Baking sheet
Lollipop sticks
Additional icing for decorating
Assorted decorations (sprinkles, fondant, dried coconut, cookie crumbs, etc.)
2 large pieces of Styrofoam or florist foam or 4 egg cartons
Patience and a friend!
 
 
Once the cake is baked, allow it to cool completely (this can be done a day ahead and leave the cake out overnight). With your hands or in a food processor (I used my hands) crumble the cake until it is fine crumbs. Using a fork, stir in the icing until it is fully incorporated. Measure out a heaping tbsp, squeeze and roll the cake mixture into a ball with damp hands. Place it on the baking tray. Continue until they are all done. If you wish, make an egg shape as well for Easter cake pops!
Place the cake balls into the fridge for about an hour to firm up, or in the freezer for about 30 mins. Just before the balls are fully chilled, chop the chocolate into small pieces and place in a microwavable container. Melt it in the microwave for 1 minute, give it a stir and continue to melt it in 30 second increments until the chocolate is melted and smooth.
Dip the tip of a lollipop stick into the melted chocolate and insert it into a ball about half way in (do not go too far or you will break right through!), wipe away the excess chocolate. Continue until all are done.
Take a cake pop, slowly insert it into the melted chocolate to cover completely. Gently pull it out and allow the excess chocolate to run off (a gentle tip on the side of the container will help, just not too hard or the pop will come loose!). Now, if you wish to add sprinkles, now is the time to do it while the chocolate is still soft. Insert the bottom of the stick into the piece of foam so the pops dry upwards. Continue to coat each cake pop until they are all done.
Once the cake pop coating has dried they can be decorated with icing, fondant shapes, sprinkles, etc. To attach the fondant shapes, use a toothpick and little bit of the melted chocolate.
Once the cake pops are done, they can be kept in an airtight container at room temperature for 3 to 4 days. Enjoy!
 
Phew! Now, I'm really not joking when I say having a lot of patience and friend handy to help are needed! These little guys are quite finicky to make, but at least I have warned you. Other than that, I must admit that these cake pops turned out utterly adorable! I especially liked the fondant cut outs that I got from a kit by Wilton. To make these into a great Easter gift, just slide a small, clear plastic bag over one and tie then closed with pastel coloured ribbons. How lovely would that be?
Have fun making your cake pops, Robyn and Lauren! Don't hesitate to ask any questions and please let me know how they turn out! Bye for now followers, I will be back next week! 


Friday, March 15, 2013

Rustic White Bread, Gluten Free

"Without bread all is misery." William Cobbett

 
Hello followers! If you live in the Hamilton area, I'm sure you know about the fantastic Horn of Plenty food store. It has everything you need for a healthy lifestyle!
Sorry that I did not post a blog last week, I've got a lot on the go these days including a big culinary adventure! I'm not ready to fill you in yet, but I will make my announcement soon. Also, I got a new camera. It's a DSLR and my photos should be looking a bit better once I figure out how to use it properly! The photos today are with the new camera, even though I really don't know what I'm doing yet, so I hope they are alright.
Well, today I am once again heading into uncharted waters and venturing into gluten free baking! Look out! Quite a few people I know are turning to a gluten free diet, either recommended by their doctor or on their own. Even I eliminated gluten from my diet several years ago when some problems had surfaced. Back when I was avoiding gluten, the variety of products were quite limited. These days, things are very different and buying or making gluten free items has become much easier! Also, to be frank, this bread tastes much better than any gluten free bread that I had bought back in the day! It's light, soft and tastes like a mild egg bread. Delicious!
 
Simple and Tasty Recipe:
 
'Rustic' White Bread Loaf, Gluten Free
(makes 1 loaf)
 
1 1/2 cups lukewarm water
1 tbsp. honey
2 tsp yeast (quick rise instant yeast)
2 cups rice flour
1 cup tapioca flour
2 tsp xanthan gum
1 1/2 tsp sea salt
2 eggs
3 tbsp vegetable oil (I used safflower oil), divided
1 tsp cider vinegar
 
In a measuring cup, dissolve the honey in the lukewarm water and add the yeast. Set aside.
In the bowl of a mixer add in both flours, the xanthan gum and sea salt. Attach the paddle for mixing and set on low to combine the dry ingredients. Once the yeast is frothy, pour it into the flour mixture, along with the eggs, 2 tbsp of oil and the vinegar. Turn the mixer up to high speed and mix for 3 mins, until the batter is smooth (it will have the consistency of a cake batter). 
Grease a 9x5 loaf pan with the remaining 1 tbsp of oil and pour the batter into the pan, smoothing the top with your spatula. Cover the loaf pan with a cloth or piece of plastic and allow to sit in a warm place for 25 to 30 mins, until the batter has doubled in size. Do not let it rise up over the top of the loaf pan. Heat your oven to 400 degrees and bake for 45 to 50 mins, until browned. For a crusty loaf, place an oven proof dish with water in it in the bottom of the oven. Remove the loaf from the pan and allow the bread to cool on a rack. Enjoy!
How easy is that?! I might add that the ingredients are all rather low in cost, well, except for the xanthan gum. Although it is quite expensive, a little xanthan gum goes a long way and if you are on a strict gluten free diet, it will be a key ingredient in baking. You see, xanthan gum is the gluten substitute and is needed to bind the ingredients together. I really hope you like this bread!
Now, before I go, I gotta talk about Ontario grown garlic! You know when they say that us consumers can make a difference? Well, I now have faith that this claim is actually true! After months of asking grocery store managers why the only garlic available is from China, I recently discovered Ontario garlic popping up in the stores that I shop at. I know its not just me who's been asking, so thank you to everyone for demanding local products in our stores. Congratulations to us all! I consider this quite a triumph and it just goes to show that if we keep asking for local goods in our stores, we will get them! Bye for now followers, I'll be back next week!